DIY Mirror Hair Bow Holder

Okay, please tell me there are other creative mammas out there who may have possibly made too many bows for their sweet little girls….and now are stuck with nowhere to put them?!  Come on raise your hand!!  I know I’m not alone here!!  Emma Grace has really thin hair and this cute side swipe thing going on so she still needs a bow to keep her hair tucked behind her ears.  So, I admit it…I have a problem with hair bows!

DIY Mirror Hair Bow Holder by jRoxDesigns

I quickly became tired of having piles of bows all over the place so I knew I needed to come up with a solution.  You see my daughter is a little vain and likes to check herself out in the mirror in the mornings after she puts her bows in.  So I thought it would be fun to make her a little spot to hold all of those bows and make sure she is looking fabulous!  I think it was a success, what about you?

DIY Mirror Hair Bow Holder by jRoxDesigns

Supplies:

  • Picture Frame
  • Mirror (to match opening of picture frame)
  • Ric Rac or Ribbon
  • Serger, Fray Check or a Lighter {to finish ends of ric rac}
  • Ruler
  • Scissors
  • Staple Gun
  • Picture Hanger (if your frame does not have a hanger)

DIY Mirror Hair Bow Holder by jRoxDesigns

My hubby and I have been playing around with making some cute frames for my daughter’s room and this project was the perfect excuse to use one!  If you are going to be using this style holder for a younger child, you might want to consider using a plastic mirror rather than a glass mirror for safety reasons.  Since my little girl is only two years old, a glass mirror was out of the question for us.  I searched high and low and found that it is really difficult to find not only plastic mirrors to fit photo frames but plastic frames as well without ordering them online.  I was able to find a large piece of plastic replacement mirror for cars that you can find at your local auto parts store or super store in the automotive section.  It was super easy to work with! All you have to do is measure the size of your picture frame opening, cut it and pop it right into place!

DIY Mirror Hair Bow Holder by jRoxDesigns

Now you will need to cut your ribbon or ric rac to the length you would like.  I love this big chunky ric rac for holding hair bows! I have used it in the past to hold my daughter’s bows because the inside curves are a natural place to hold your bows to keep things neat. Plus the thick texture of the ric rac also helps keep the bows in place and prevents them from slipping.

Next, take one of your largest bows as well as one of your average size bows and clip them to your ric rac so you can judge about the distance apart your strips need to be.  If you would like, use a piece of tape to hold the ric rac in place while you decide how far apart you want the ric rac.

DIY Mirror Hair Bow Holder by jRoxDesigns

Flip the frame over and staple the ric rac into place.

TIP: Make sure to finish the ends of the ric rac or they will unravel like CRAZY!  I used my serger to serge the ends, but if you do not have a serger, you could fold the ends up and sew it in place. Or try fabric glue, a lighter, or even fray check to finish the ends.

DIY Mirror Hair Bow Holder by jRoxDesigns

One thing to consider is, some unfinished frames at the craft store do not have hangers on the back. So you may need to add one yourself.  With all of the frames I’ve made lately, I’ve become a pro at this and thought I would share some quick tips with you!

DIY Mirror Hair Bow Holder by jRoxDesigns

First, you will need to mark where your hanger will need to go.  As long as your frame is symmetrical on all sides, you should be able to measure and find the middle of the width and make a mark.  Now measure the height from the opening to the top and find the mid point.  Where these two points meet is where the center of your hanger will need to go.

The hangers I use are super helpful because there is actually a little dot in the middle of the hanger already there to mark the midpoint!

DIY Mirror Hair Bow Holder by jRoxDesigns

Those little nails are tricky tricky to hold in place to hammer. So grab a pair of pliers and they make the job a breeze.  Hold your nails in and hammer away!

DIY Mirror Hair Bow Holder by jRoxDesigns

Now you have a frame that is ready to hang!

DIY Mirror Hair Bow Holder by jRoxDesigns

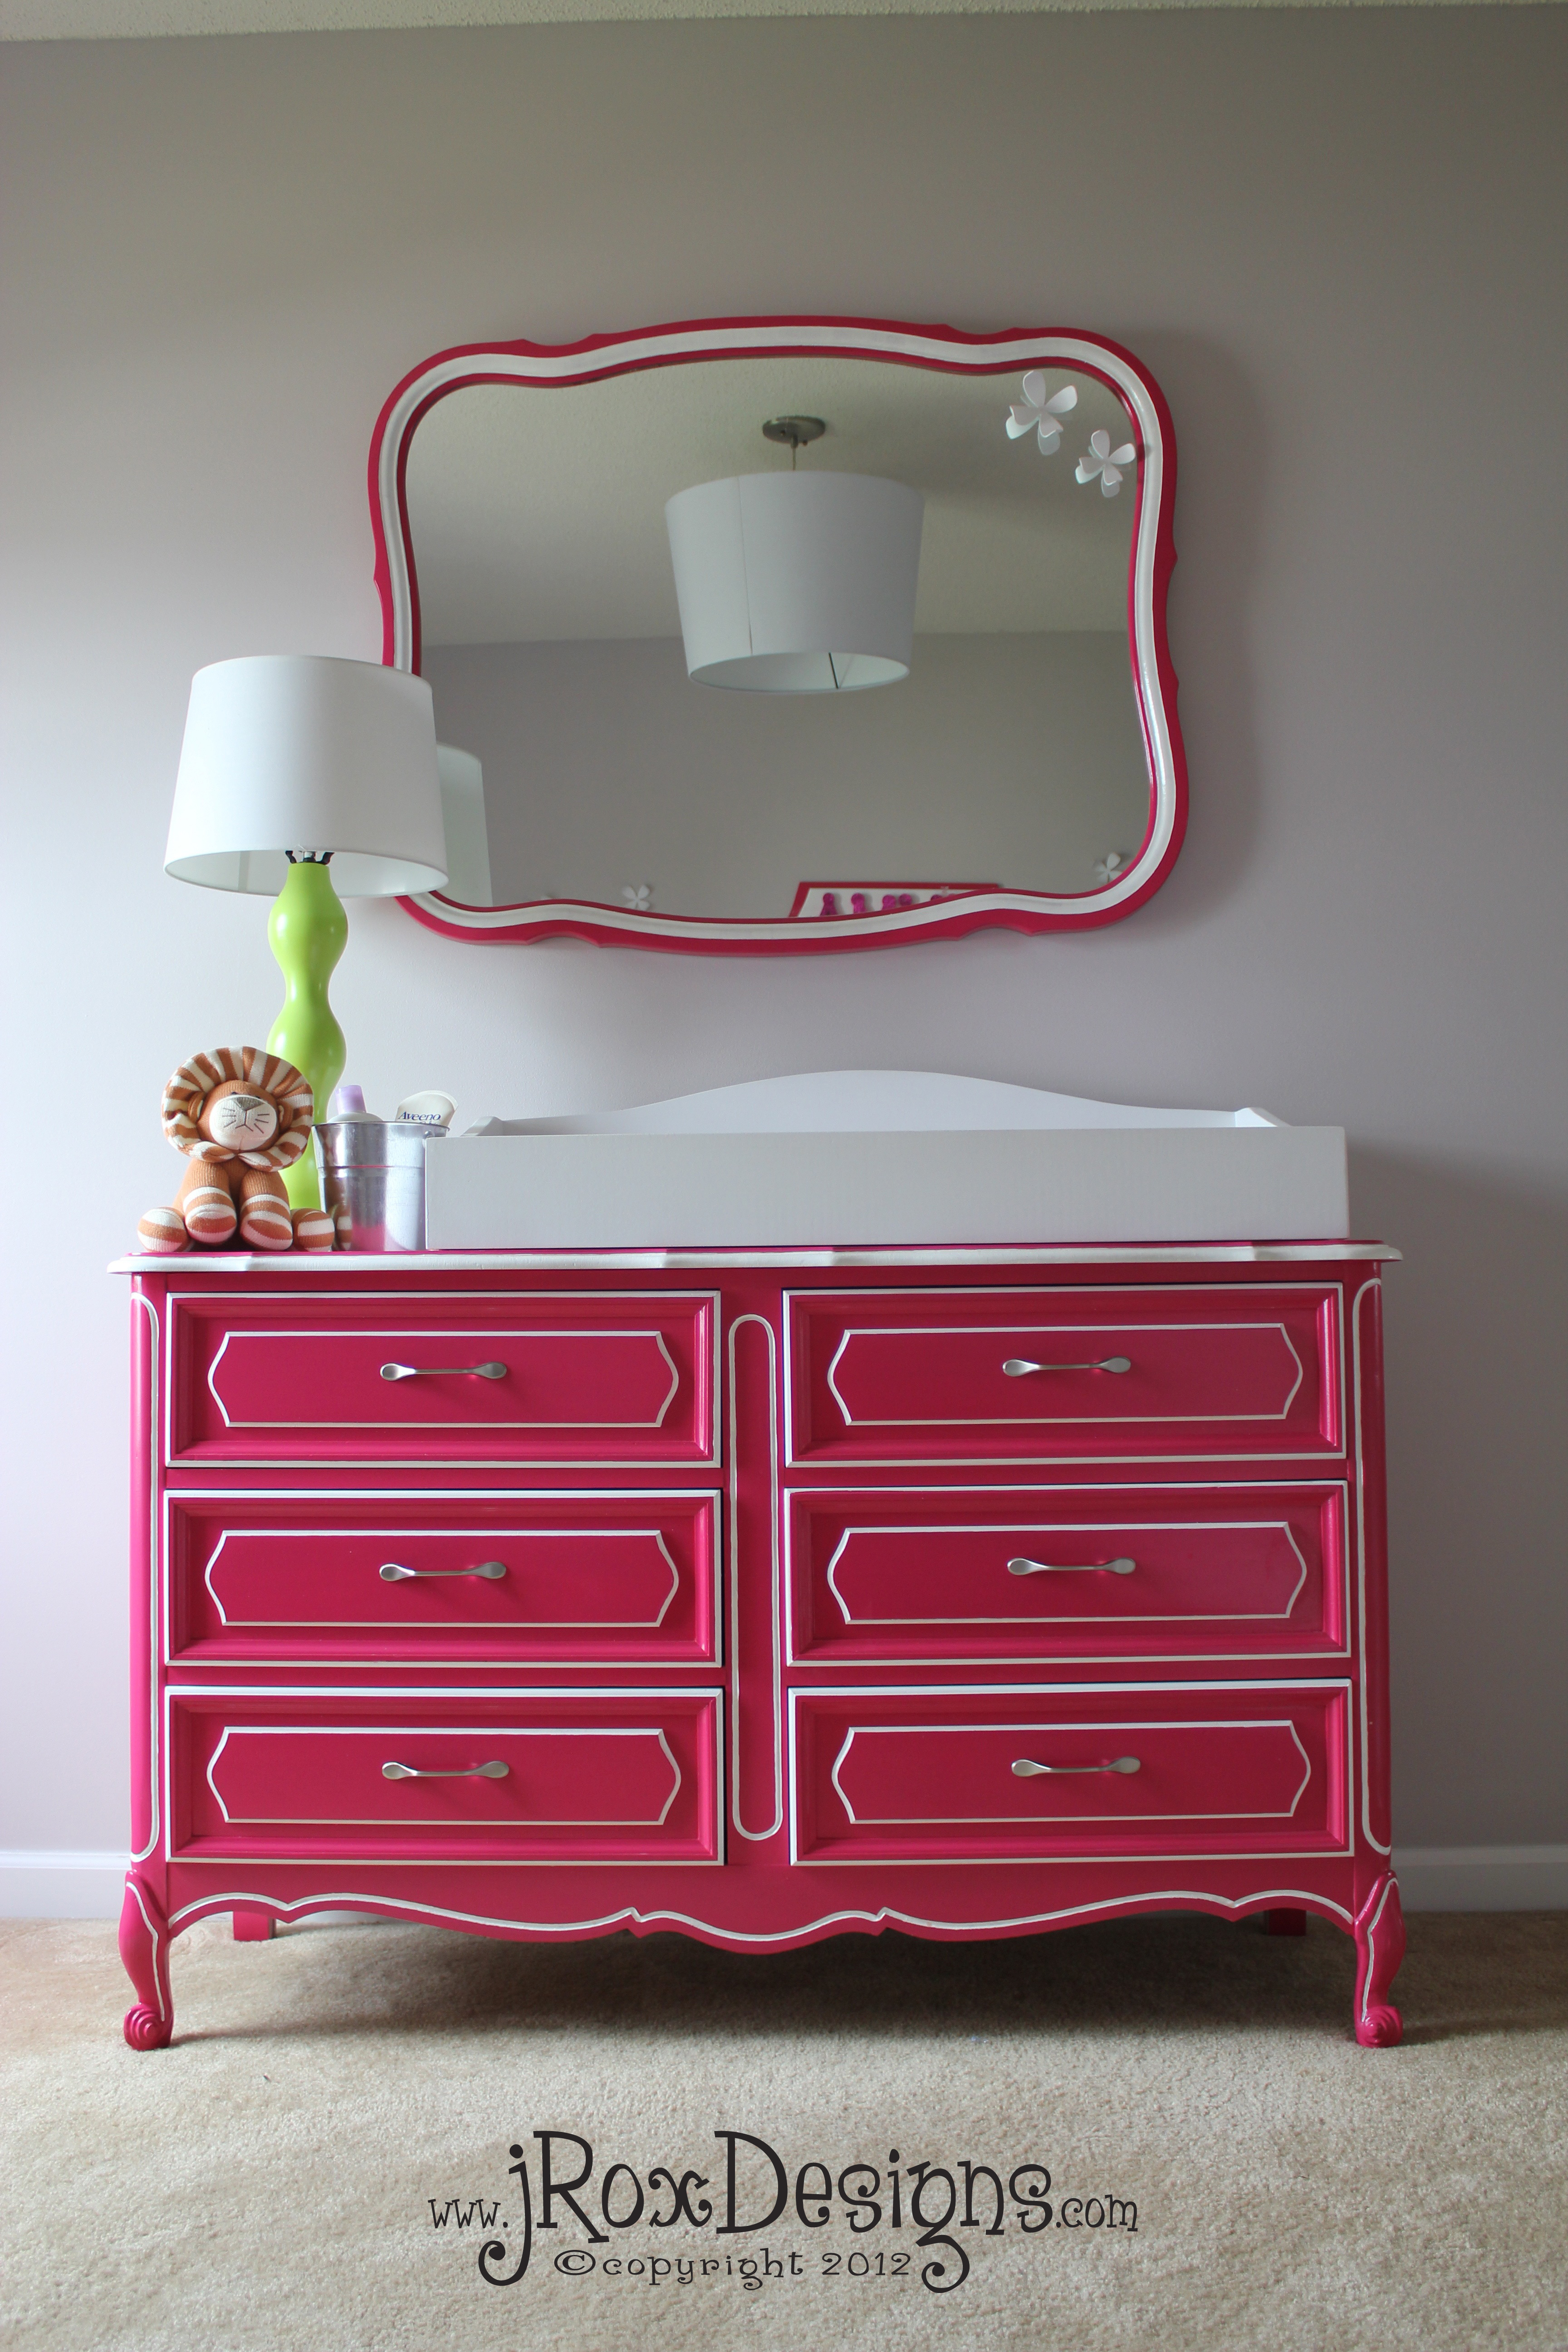
Now that your frame is ready to hang that means…you’re done!  So quick and easy!!!  What I love about this project is that you can personalize it any way you want to fit your style.  The curvy and funky frame I used matched the style of my daughter’s nursery. But maybe you like classic straight lines?  Go for it and grab a frame that matches your style!

I wanted to hang her mirror right at her height so she can check herself out and since I didn’t want her bows to hit all the way to the floor her ric rac measured right about 22″ long.

DIY Mirror Hair Bow Holder by jRoxDesigns

But then I quickly realized….I still had more bows left over.  Yepp, I told you had a problem!!  So I cut one more strand to add onto my frame.  Once all of the bows are on there I realized it was a little excessive!

DIY Mirror Hair Bow Holder by jRoxDesigns

If you are not going to fill it up completely, it looks nice. But with as many bows as my daughter has, I think I would definitely use a larger 5″x7″ frame so that it didn’t look so small compared to the large mass of bows!

DIY Mirror Hair Bow Holder by jRoxDesigns

I love how it turned out!  It’s fun and funky and let me tell you my daughter was super excited when she woke up from her nap and I hung it up for her!  My favorite part was was finally being able to use the picture frames I’ve been working on for so long.  I started by hand sketching the silhouette and went through a dozen variations before I decided on this exact profile and I LOVE how it turned out.  It is always so satisfying to be able to see all your hard work turn out just like you imagined it!   If you love my frame too feel free to stop by my Etsy shop and request a custom order!

DIY Mirror Hair Bow Holder by jRoxDesigns

How do you organize your sweet little girl’s stash of bows?  Do you have an obsession with making fun new flower bows all the time like me?

Signature

Chalkboard Accent Wall :: Inspiration Wednesday Project Complete!

A while back I wrote about how I desperately wanted to incorporate a chalkboard wall into our home.  After some what of an epiphany, a couple quick coats of paint and what seemed like having to wait for forever for paint to dry completely…our family now has a fun place to play and draw!

Chalkboard Accent Wall by jRoxDesigns

The trickiest part of the chalkboard wall was trying to figure out just the right space in the house for it.  Every wall was either too big, too small or was connected to another wall that wouldn’t work either.  I just couldn’t figure it out!  Then one day it just hit me and I kind of felt like an idiot.  We have this one little wall that connects our breakfast nook to our kitchen that would make a perfect accent wall.  It is small but it is in a great central location were I was sure it would get a lot of use.

BEFORE Chalkboard Accent Wall by jRoxDesigns

I made a quick trip to Home Depot (one of my favorite places in the world!) and grabbed a can of Rust-Oleum Chalkboard Paint.

I also grabbed a new smooth foam roller (they are typically labeled for cabinets and furniture).  This is important because you do not want a nappy roller.  The smoother the better!  It took me about three coats to get really good coverage.  I’m sure that two coats would have been fine but I could swear to you that I still saw bits of tan paint peaking through so I went for a third coat.  Once the paint dried I had to wait three days (per the instructions on the can) before I could do any drawing!  The hardest part was waiting!  Ugh…I hate waiting.  Especially since it took no time at all to paint such a small space.  Once the waiting game was over I conditioned the entire wall.  This step is important because it will help with keeping your wall looking new and not leaving any phantom “ghost” marks. 

Priming Chalkboard Accent Wall by jRoxDesigns

While we are on the subject of phantom ghost marks as I like to call them, I learned an interesting lesson about chalkboard markers.  I was so excited when I found out about them!  I mean how cool is it that you can get thick, clean lines like a marker but in the form of chalk?  Well I guess it was too good to be true in my case.  Beware that if you use chalk markers you can only use them on a surface with a sheen to it.  The chalkboard paint that I used was flat and will not work with chalkboard markers.  Lesson learned.  While awaiting the arrival of Nana we made a “Countdown To Nana” on our wall in chalkboard markers.

Ghost Image on Chalkboard Accent Wall by jRoxDesignsAlthough we do love Nana lots and lots it looks like she will now be with us for a while.  The only way to get rid of the ghost marks is to put a fresh coat of paint over top!  Ugh.  Lesson learned right?  Well I ended up using the chalkboard markers anyways to draw a couple of fun things that I want to keep on the wall permanently.  At this point what can it hurt right?

Chalkboard Accent Wall by jRoxDesigns

Chalkboard Accent Wall by jRoxDesigns

Amour Vincit Omnia means Love Conquers All in Latin.  It’s a little bit like a family motto around our house!

Chalkboard Accent Wall by jRoxDesigns

So there you have it.  A little bit of chalkboard wall fun!  Since we I finished it the wall has become a place for impromptu games of tic-tac-toe, a place to take newborn photos (don’t worry you will get a sneak peek soon!), a place to jot phone messages and most importantly a spot to write secret messages to each other!

Have you make a chalkboard accent wall in your home?  Share it with us!  I’d love to see it!

Bringing Chalkboards Out of the Classroom and Into The Home :: Inspiration Wednesday

Right now there is a chalkboard crazy sweeping the DIY world and I just think the idea is so much fun.  There are chalkboard walls going into kitchens, playrooms and I’ve even seen them in nurseries!  The more projects I came across the more and more I wanted one in our home!  Jeremy and I have talked about putting one in our kitchen for the longest time but we couldn’t figure out exactly where to put it.  I love this full wall but we don’t a full wall in the kitchen and for our space I think it would be too much.

Kitchen Chalkboard Wall from High Street Market

High Street Market via The Wight House on Pintrest

A half wall with beautiful lights to highlight the space makes the trend a little more formal.

Nook Chalkboard from The Urban Electric Company Blog

The Urban Electric Company Blog via Jennifer O. on Pintrest

By adding moulding to the chalkboard you could almost make it into a piece of artwork!

Framed Chalkboard Canadian House and Home

Canadian House and Home via Amie K. on Pintrest

I’m loving the idea of writing out meal plans for the week.  No more “What are we having for dinner?” before we even eat breakfast!

Meal Planner Chalkboard from Whipper Berry

Whipper Berry via Lauren L. on Pintrest

Even the smallest spaces have room for chalkboard!

Small Chalkboard from Desire To Inspire

Desire To Inspire via Allison on Pintrest

What about putting the chalkboard in reach of the kiddos to show off their artwork?

Kitchen Island from The New York Times

The New York Times on Pintrest

Kitchen Island from Emily A. Clark

Emily A. Clark via Katrina A. on Pintrest

Have you jumped on the chalkboard craze?  It’s official we have found the perfect space in our kitchen and I’ll have pictures to share soon!

Custom Painted French Provencal Dresser :: Nursery Tuesday

Custom Painted French Provencal Dresser by jRoxDesigns

When designing Emma Grace’s nursery one of the things I knew for certain was I wanted a one of kind piece in her room.  Although I do love crisp modern design I also have a place in my heart for soft lines.  As soon as we found out we were having a girl I knew I wanted to give her a modern style girly nursery but I wanted it to be soft and welcoming.  Although Jeremy doubted me at first because I had narrowed down my dresser choices to two…

MALM 6 Drawer Dresser

the MALM 6 Drawer Dresser from IKEA with a some sort of graphic overlay on the drawers

OR

French_Provencal_Dresser

source

a French Provencal style dresser.  Yeah I know not my style at all but when I saw several of these pieces painted in fun colors

Vintage French Provincial Dresser In Sunflower Yellow by minthome on Etsy

MintHome on Etsy

I was sold!  So I decided on pink and white.  Yes bold but with the rest of the furniture in the room being white and a soft grey backdrop on the walls I knew it was doable.  So I searched Craigslist for weeks to find a dresser that would work.  Then I found it!  For less than $60 I was the proud new owner of a fantastic dresser.  (Okay a side note we did drive almost 2 hours both ways for it in our truck so if you figure in gas it was a bit more! 🙂 )

EG_Dresser_BeforeThe first thing we did was take all the hardware off and lightly sanded down the entire dresser.  I then taped off the drawers and took them outside to prime.

EG Dresser Drawer Taped

One of the things that I love about painting furniture is our paint gun.  A couple years back we invested in a paint gun and it was SO worth the money.  With it Jeremy (not pregnant me!) was able to spray down the dresser and all the drawers relatively quickly and with a perfectly smooth finish.

Zinsser Bulls Eye 123 Primer

I used Zinsser’s Bulls Eye 1-2-3 water based primer and it works like a dream!  I love RustOleum products and I’ve tried many different primers and this one is by far my favorite.  It dries quick, has great adhesion, a very low odor and it levels out really well!  So after Jeremy finished priming everything I gave it all one more sand down with a fine steel wool.  This gave us a super smooth finish to work with.  We then painted over all the pieces with the same paint I used to paint her closet which was Behr Premium Plus Ultra Paint and Primer in One.

BEHR Premium Plus Ultra Paint

The color is called “Invitation to a Princess” by Disney for Behr.  It is the perfect shade of pink and matched her bedding perfectly!  After we got two smooth layers down it was time to start painting the trim.  Originally I tried to tape off the edges but it didn’t take long to realize that it wasn’t going to work.  So…a little itty bitty brush and I had a date for the next couple WEEKS…for HOURS and HOURS on end!  By the time I finished the first coat I thought I was going to die but I persevered and it was worth every last paint stroke!  I sealed the entire dresser and the front and sides of each of the drawers in Minwax’s Gloss Polycrylic.

Minwax Polycrylic

Now let me tell you this stuff is awesome!  We go through this stuff by the gallons at our house with our cornhole boards.  It goes on super smooth and dries nice and hard.  It takes a couple of days to completely harden so right before we left to go tot the hospital we put the drawers in the dresser but didn’t close them all the way and by the time we got home with little missy they were perfect. So I’ve made you wait long enough…I present to you…the pride and joy of my DIY nursery…

Custom Painted French Provencal Dresser by jRoxDesigns

Did I mention we got a matching mirror with the package too? Eeekk!!

Custom Painted French Provencal Mirror by jRoxDesigns

Custom Painted French Provencal Dresser Detail by jRoxDesigns

Custom Painted French Provencal Dresser Detail by jRoxDesigns


My favorite part of the make over (other than ALL of those beautiful white details of course) was the silver sleek handles that I added to replace the original over the top handles!

Custom Painted French Provencal Dresser Hardware by jRoxDesigns

So I’m going to leave you with most amazing photo ever…again…ahh I LOVE it!

Custom Painted French Provencal Dresser by jRoxDesigns

Have you guys ever taken on a HUGE furniture project like this before that turned out amazing?  Or maybe it didn’t turn out just like you planned?  Tell me all about it!

P.S.  The custom painted furniture doesn’t end here!  Oh no!  Jeremy made me the most amazing side table to go with it.  Stay tuned for next week!

Psst…Check me out over at East Coast Creative as a share this awesome project as a chance to be part of Creating with the Stars!

DIY Crayon Initial Art :: Nursery Tuesday

Okay ladies and gentlemen it is time that I stop showing you other people’s nurseries and ideas and start showing you what I actually did in Emma Grace’s nursery.  So for the next couple weeks I will start showing you all the little projects that we did along the way and then I will show you what her room looked like when she was born and how we have made some changes now that she is a year old (ouch that still hurts to say!).

DIY Crayon Initial Artwork by jRoxDesigns

Before Emma Grace was born I had picked out quite a few DIY projects that I wanted to do.  I know it sounds silly but if I kept myself busy it helped with my HG in the last trimester of my pregnancy.  Basically I tried to keep my mind off the constant nausea by keeping glue in my hands and my foot on a sewing machine pedal!  I found this awesome project on Frugal Life Project using crayons and I thought it would be a way to bring “not so serious” artwork into the room.  I wanted the room to be fun playful.  Originally I thought it would great in a playroom but since we are all out of extra rooms in the house I figured why not the nursery!

Crayon Art by The Frugal Life Project

Hop on over to the Frugal Life Project and check out an awesome tutorial with great pictures on how to make your own crayon initial artwork.  I pretty much followed the tutorial step by step but did a couple things different.  Instead of gluing the crayons directly on the paper with the letter outline I used that paper as a guide to line everything up.  Once all the crayons were exactly how I wanted them I transferred them to my cardstock and glued them one at a time.  Also being a bit of a perfectionist I had a hard time trying to get the crayons to look good on the cut end.  I used a combination of scoring the crayons like described in the tutorial but I also used an old knife and heated it up over a candle so that when I cut the crayons it actually melted them a bit creating a smooth cut.

Crayon Art by The Frugal Life Project2

Originally I was just going to do only pink and green crayons to match her nursery.  At the Crayola store you can actually buy a custom 64 pack of crayons that include four of your favorite colors!  I thought it would be so cool for a project like this.  In the end I decided that everything in the room was already so color coordinated that once I put them on a green background I thought all the different crayon colors would be fun.  So although I didn’t order a custom box I may have to in the future for another project!

Custom Crayola Color Box

Source

I had a great time with this project!  Have you made any custom artwork with crayons?  I know awhile back there was a huge craze on Pintrest with melted crayons and those were all so neat.  That would be a great project to order crayons for!  Stay tuned for more DIY nursery projects!