Perfect Accessories and Updating Furniture with Paint:: Nursery Tuesday

I think one of the most time-consuming parts of finishing any room is finding perfect accessories for the space.  The right accessories can be so hard to find and almost impossible if you are trying to match tricky colors.  I knew I was going to be in trouble when I picked out  a deep but yet bright pink and lime green for Emma Grace’s nursery.  But guess what?  It was actually easier than you would think.  How?  It’s called one gallon of pink paint and a couple of bottles of lime green spray paint!

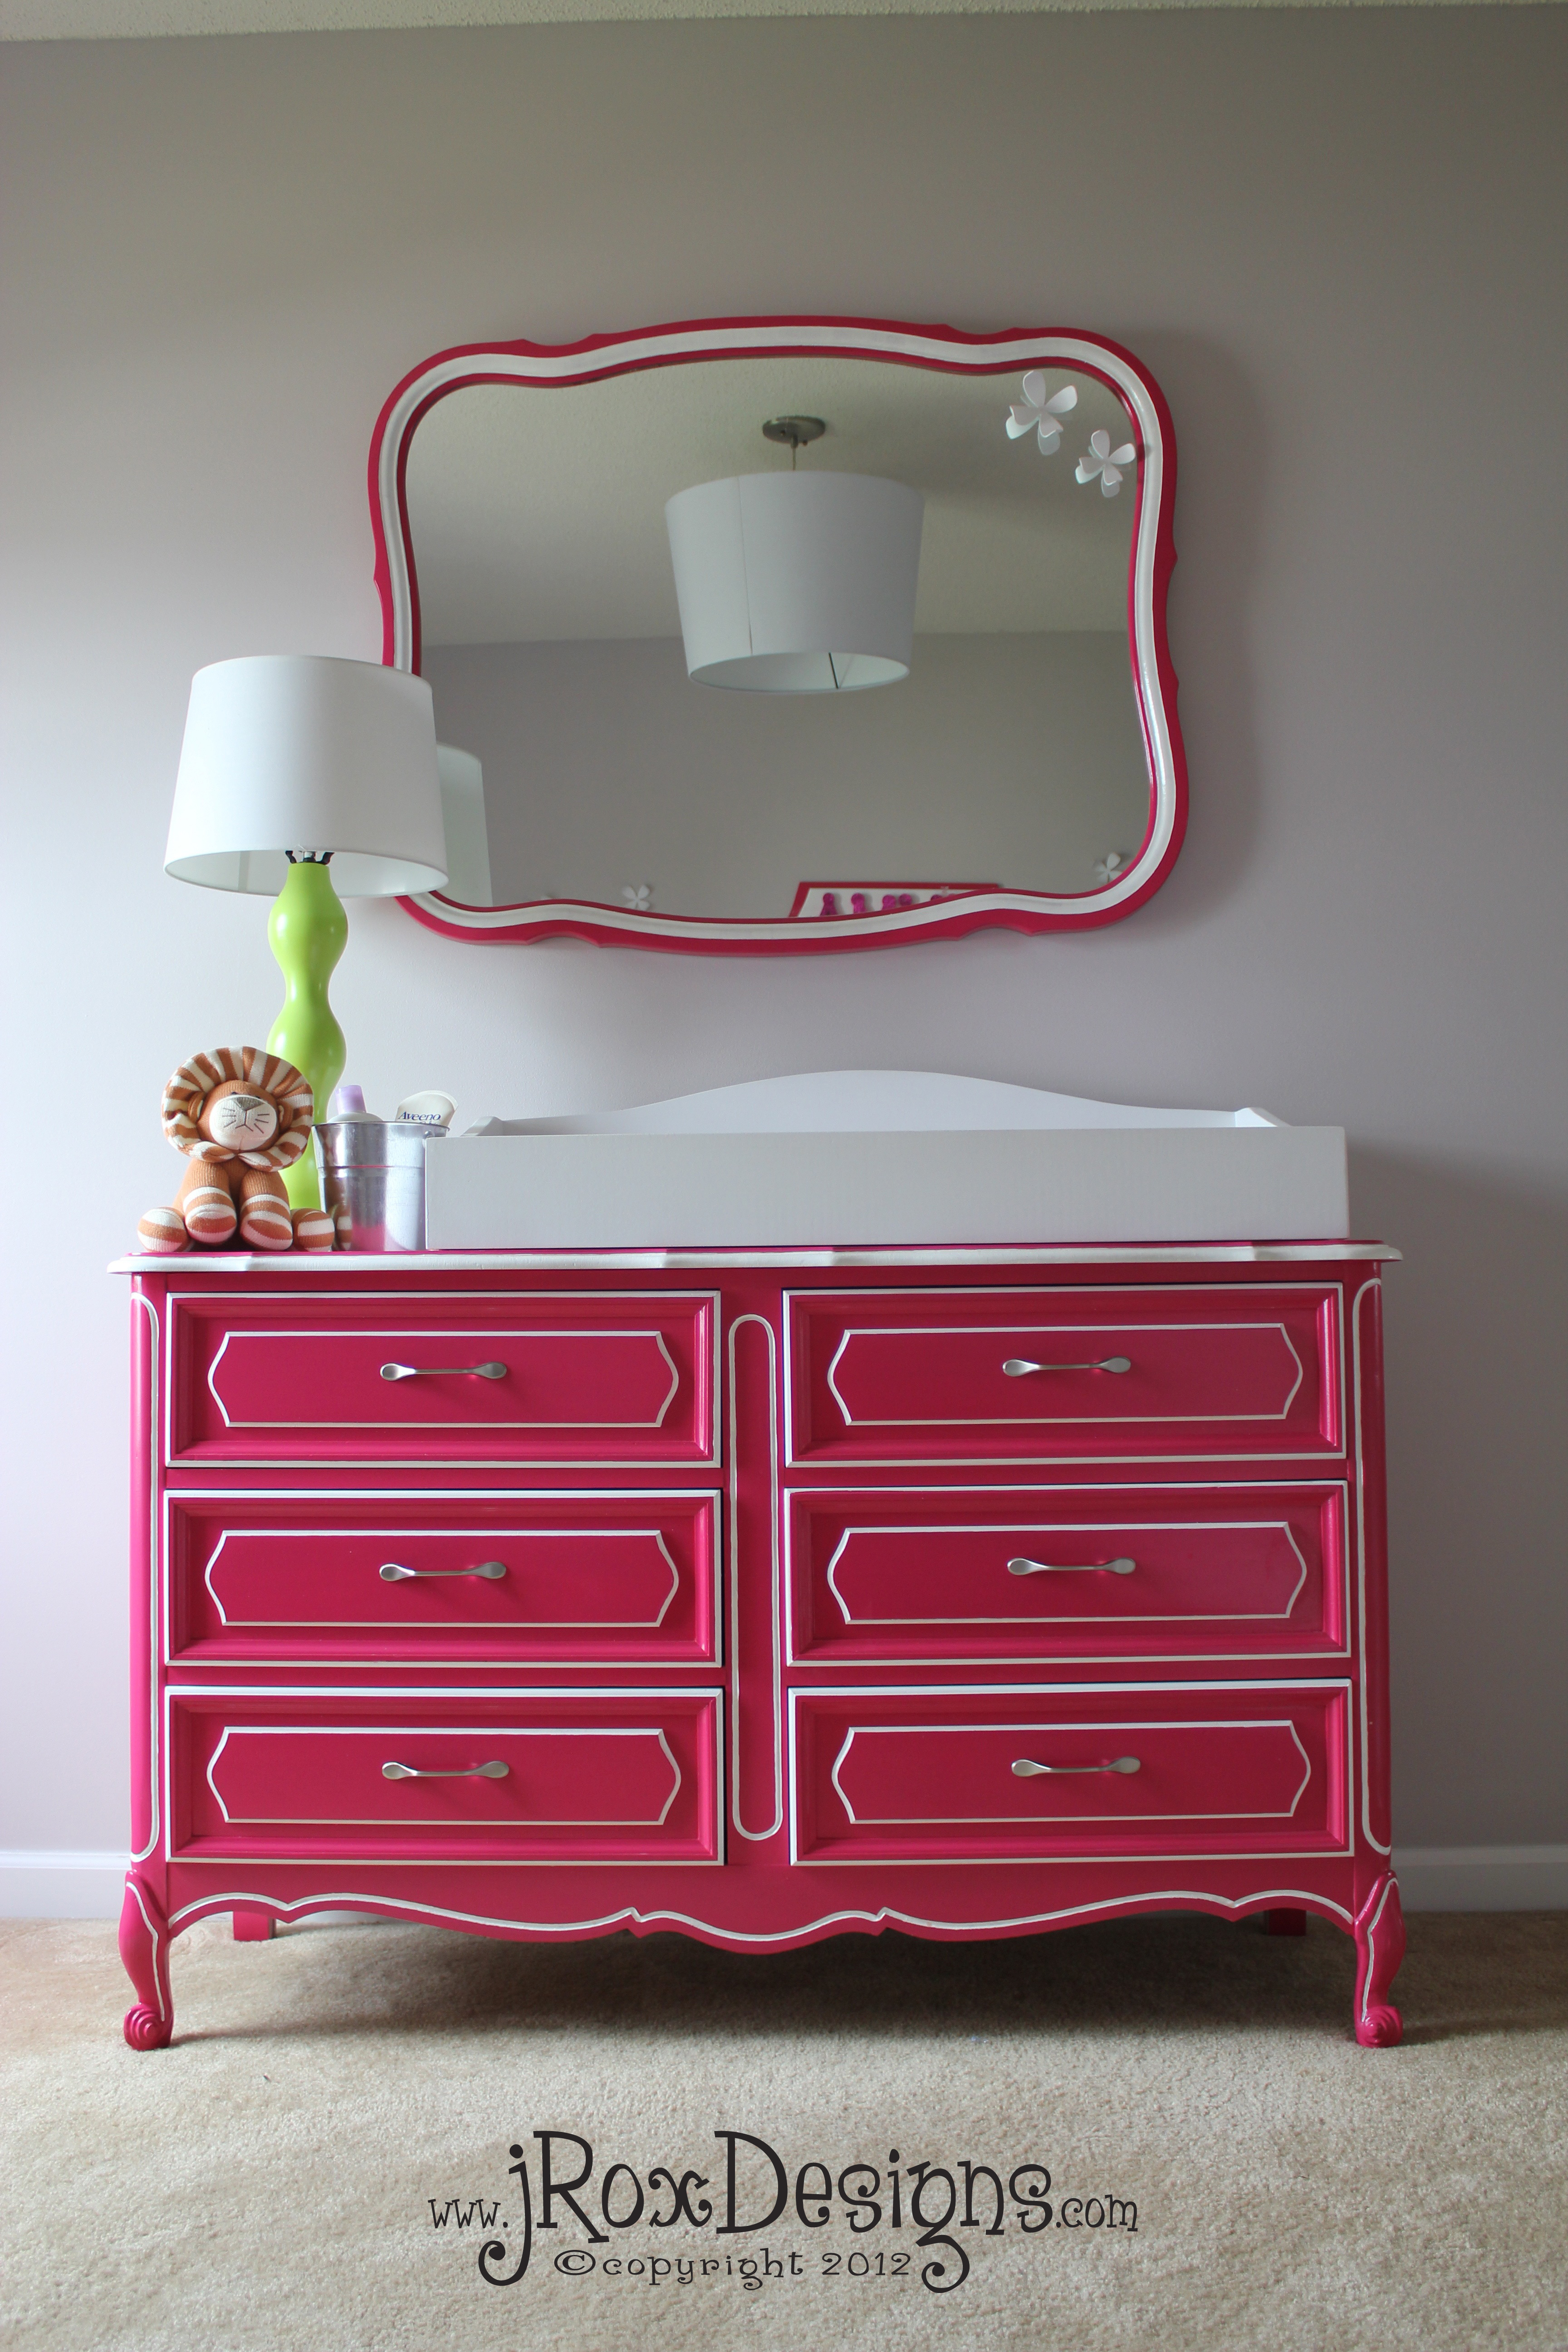
So if you remember back I’ve already shared how we transformed a Craigslist dresser into the feature pieces in her room here and then I shared how we created a custom side table here.  Both of those were done using the same gallon of paint I used to paint her closet.  That is what I love about the Behr paint I use, it can go on the wall and then go on furniture and it stands up so well!

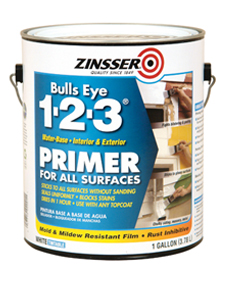
The first accessory that I had trouble finding was a lamp.  I knew I wanted a fun and funky lamp to put on her dresser but the idea of finding one in lime green was…well next to impossible.  So what do you do?  PAINT ONE!  I found a really cute lamp at a yard sale that had the right shape but with a black base with a sad-looking shade wasn’t going to cut it.  I took the lamp and gave it a light sand and then sprayed it with primer so that I would get a good base.  We used the same primer from the dresser and the side table (Zinsser’s Bulls Eye 1-2-3 water based primer) through the spray gun.

The I gave it a good coat of Rust-Oleum’s Painters Touch in Key Lime (sorry the only picture I could find makes it look very yellow but in real life it is pretty green!)

Then added a crisp white drum shade from Target to match her drum pendent light and viola!

But the fun with paint doesn’t stop there!  My mom gave me these cute little glitter letters that she scoured the Dollar Stop at Target for.  They were a little on the small side so in order to make them stand out a bit more I made a plaque for them to sit on.  I wanted the base to mimic the general shape of her dresser drawers and I think it turned out perfect!  Again, all I used was some scrap wood and a little bit of the same gallon of pink paint!

The last paint project for her nursery was her crib!  We bought the Baby Mod Parklane 3 in 1 Convertible Crib.  I loved it because it was simple with clean lines and the price point was perfect (In other words it was the most inexpensive modern crib I could find that had good safety reviews!)

I know it is a little unconventional but I thought it would be fun to paint it!  No, I did NOT paint her crib…just the drawer!  🙂  Let’s be honest, I know there are a lot of people out there that have painted their cribs but we bought her’s brand new so there was no need to paint the whole thing.  The only thing I did not like about the crib was the fact that the cute little drawer it came with matched NOTHING in her room.  So it was time to bust out the paint!  In the beginning she had a beautiful crib set that I made for her but by the time we dropped her mattress down there was no more room for a crib skirt and the bumper got pulled when she started climbing on it.  So it wasn’t until 9 months when her crib stood there with nothing but an ugly drawer and a white crib sheet I decided something had to change!  PAINT TIME!! I bet by know you can guess the first thing that I did to it was give it a good coat of primer!  This time I just used a foam brush because I didn’t feel like bringing out the spray gun for something so little.  You can see a little bit of brush strokes but after a little bit of sanding I got a perfect smooth finish to paint.

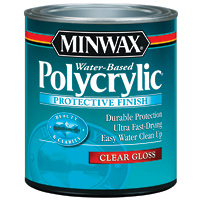
After a couple of coats of the same Behr paint and Minwax’s Polycrylic her crib was looking pretty cute!

I’m thinking of making her some fun sheets out of the same fabric we used for her original bedding but that will have to wait.  In the mean time I’m pretty sure she is enjoying her crib like it is.  She is a goof ball and loves sleeping with her legs between the slats!

Whew that was a lot of painting!  But I think it all looks fabulous!  What about you?  Any big painting projects lately?  Make sure you stop by next Tuesday for the big reveal!!  I can hardly wait to show you!

Custom Modern Nursery Side Table :: Nursery Tuesday

First I want to thank all everyone for the overwhelming number of compliments on Emma Grace’s dresser update that I featured last week! You guys are the best!  So this week I thought I would share another furniture piece that we made for the nursery.  In the corner of the nursery by the rocker I knew I wanted some sort of side table that I could at least put her baby monitor on and maybe a glass of water to keep me going through those midnight feedings.  Jeremy volunteerd his amazing wood working skills and said that he would make me something so I would finally stop trolling Craigslist!  So, I turned over all control to him (which by the way never happens 🙂 ) and let him do his thing and I got one fun and funky little side table!

Custom Side Table by jRoxDesigns

I love how it turned out.  It is funky and modern but works great with the traditional style of the dresser all at the same time!  Jeremy even rounded the edges of the table top to mimic the details of the dresser.

Custom Side Table Top by jRoxDesigns

My favorite part?  Guess how much the entire project cost us?  ZERO…ZILCH…NADDA!  He used all scrap wood he had lying around and paint we had on hand.  Now granted we do have quite a bit of scrap wood because of how much woodworking he does but still even if we had bought the wood the cost would have been minimal.  Another one of favorite features of the table is the legs.

Custom Side Table by jRoxDesigns

Funky right?  They remind me of giraffe legs which is too funny because guess what one of the accent fabrics we used in her nursery was?

Premier Prints Gisella White-Candy Pink Fabric

Oh little fun baby giraffes!  Aren’t they cute?  Okay another fun fact about this side table.  Take a look at the photo below again and see if you can see anything that might “match up” to the table.

Custom Painted French Provencal Dresser by jRoxDesigns

Do you see it?  Check out the back of the changing tray on the top of the dresser.  Now look at the legs of the table.  Do you see it yet?  Jeremy actually used the scrap piece of wood that he cut out from the top of the back of the changing table for the legs!  Before Emma Grace was born I worked at a an awesome baby boutique and when we lost our vendor who made changing table trays my very talented hubby stepped in to help.  So, the top of four changing tray backs were turned into side table legs.  Pretty cool huh?

Alright stay tuned because next week I’m going to show you an update to her crib and how we have changed things up over the past year.  We are getting so close to a final reveal!  Are you ready?!?!?!

DIY Painted Placemat Kitchen Rug Tutorial

Remember back a couple of weeks ago to the Inspiration Wednesday post about painted kitchen rugs?  Well meet the newest addition to our kitchen!

DIY Painted Kitchen Rug by jRoxDesigns1 copy

Isn’t she a beauty?  I’m so in love!  I knew it was a long shot that it would actually work but I crossed my fingers and it turned out great!  So this is the before…

Before - DIY Painted Kitchen Rug by jRoxDesigns

Wow!  I know a real looker right?  I swear it looked a lot better 4 years ago when I bought it and when it actually matched the red kitchen.  The rug was a soft fabric on top and a really cushy foam underneath.  It is so nice to stand on while I do dishes so I didn’t want to get rid of it but it had seen better days.  The down side?  That fabric had started to pill…REALLY bad!  So I threw a coat of primer (same as I used for Emma Grace’s dresser – Zinsser’s Bulls Eye 1-2-3 water based primer) and hoped for the best.  The pilled fabric pieces soaked the primer right up and I took some sand paper to it and they actually started to come off!  So I put on another coat of primer to see if I could get them all off.

Progress - 1-2 Primed - DIY Painted Kitchen Rug by jRoxDesignsWhat a difference one extra coat of primer can cover huh?  So after I sanded the heck out of the thing again I had a great smooth surface to work with!

Progress - Primed - DIY Painted Kitchen Rug by jRoxDesignsYou can still see the original print underneath but I just wanted to get a good base and cover most of it.  I then took the same orange that we used as an accent wall in our adjoining family room and gave the rug another two full coats of paint.

Progress - Painted - DIY Painted Kitchen Rug by jRoxDesigns

Wow looking good already!  I then drew up a little sketch of what I wanted and used our projector to trace the image in pencil on the rug.  I then hand painted the inside the lines (I was always good at coloring inside the lines).  After two coats of white I sat back an enjoyed a job well done!  In order to seal it up I applied three coats of Minwax’s Polycrylic.  Yes three coats is a little excessive but the rug has some natural dips in it from the fabric and I was trying to fill the dips to get a smoother finish.  I started off with gloss polycrylic but after it completely dried it was WAY too much sheen.  So I put one more coat of the polycrylic in satin and it was perfect!

DIY Painted Kitchen Rug by jRoxDesigns2

I love how it turned out!  It is clean and fun and funky all at the same time.  Now every time I don’t want to do dishes I can jump up and down on my plate to get my frustrations out!  Haha nah I’m kidding but Jake thought it was funny!

DIY Painted Kitchen Rug by jRoxDesigns
So go grab some paint and add a little fun to your kitchen too!

Custom Painted French Provencal Dresser :: Nursery Tuesday

Custom Painted French Provencal Dresser by jRoxDesigns

When designing Emma Grace’s nursery one of the things I knew for certain was I wanted a one of kind piece in her room.  Although I do love crisp modern design I also have a place in my heart for soft lines.  As soon as we found out we were having a girl I knew I wanted to give her a modern style girly nursery but I wanted it to be soft and welcoming.  Although Jeremy doubted me at first because I had narrowed down my dresser choices to two…

MALM 6 Drawer Dresser

the MALM 6 Drawer Dresser from IKEA with a some sort of graphic overlay on the drawers

OR

French_Provencal_Dresser

source

a French Provencal style dresser.  Yeah I know not my style at all but when I saw several of these pieces painted in fun colors

Vintage French Provincial Dresser In Sunflower Yellow by minthome on Etsy

MintHome on Etsy

I was sold!  So I decided on pink and white.  Yes bold but with the rest of the furniture in the room being white and a soft grey backdrop on the walls I knew it was doable.  So I searched Craigslist for weeks to find a dresser that would work.  Then I found it!  For less than $60 I was the proud new owner of a fantastic dresser.  (Okay a side note we did drive almost 2 hours both ways for it in our truck so if you figure in gas it was a bit more! 🙂 )

EG_Dresser_BeforeThe first thing we did was take all the hardware off and lightly sanded down the entire dresser.  I then taped off the drawers and took them outside to prime.

EG Dresser Drawer Taped

One of the things that I love about painting furniture is our paint gun.  A couple years back we invested in a paint gun and it was SO worth the money.  With it Jeremy (not pregnant me!) was able to spray down the dresser and all the drawers relatively quickly and with a perfectly smooth finish.

Zinsser Bulls Eye 123 Primer

I used Zinsser’s Bulls Eye 1-2-3 water based primer and it works like a dream!  I love RustOleum products and I’ve tried many different primers and this one is by far my favorite.  It dries quick, has great adhesion, a very low odor and it levels out really well!  So after Jeremy finished priming everything I gave it all one more sand down with a fine steel wool.  This gave us a super smooth finish to work with.  We then painted over all the pieces with the same paint I used to paint her closet which was Behr Premium Plus Ultra Paint and Primer in One.

BEHR Premium Plus Ultra Paint

The color is called “Invitation to a Princess” by Disney for Behr.  It is the perfect shade of pink and matched her bedding perfectly!  After we got two smooth layers down it was time to start painting the trim.  Originally I tried to tape off the edges but it didn’t take long to realize that it wasn’t going to work.  So…a little itty bitty brush and I had a date for the next couple WEEKS…for HOURS and HOURS on end!  By the time I finished the first coat I thought I was going to die but I persevered and it was worth every last paint stroke!  I sealed the entire dresser and the front and sides of each of the drawers in Minwax’s Gloss Polycrylic.

Minwax Polycrylic

Now let me tell you this stuff is awesome!  We go through this stuff by the gallons at our house with our cornhole boards.  It goes on super smooth and dries nice and hard.  It takes a couple of days to completely harden so right before we left to go tot the hospital we put the drawers in the dresser but didn’t close them all the way and by the time we got home with little missy they were perfect. So I’ve made you wait long enough…I present to you…the pride and joy of my DIY nursery…

Custom Painted French Provencal Dresser by jRoxDesigns

Did I mention we got a matching mirror with the package too? Eeekk!!

Custom Painted French Provencal Mirror by jRoxDesigns

Custom Painted French Provencal Dresser Detail by jRoxDesigns

Custom Painted French Provencal Dresser Detail by jRoxDesigns


My favorite part of the make over (other than ALL of those beautiful white details of course) was the silver sleek handles that I added to replace the original over the top handles!

Custom Painted French Provencal Dresser Hardware by jRoxDesigns

So I’m going to leave you with most amazing photo ever…again…ahh I LOVE it!

Custom Painted French Provencal Dresser by jRoxDesigns

Have you guys ever taken on a HUGE furniture project like this before that turned out amazing?  Or maybe it didn’t turn out just like you planned?  Tell me all about it!

P.S.  The custom painted furniture doesn’t end here!  Oh no!  Jeremy made me the most amazing side table to go with it.  Stay tuned for next week!

Psst…Check me out over at East Coast Creative as a share this awesome project as a chance to be part of Creating with the Stars!