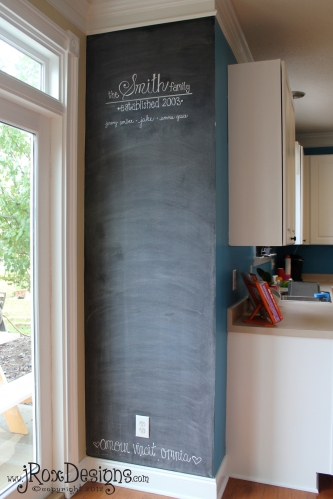
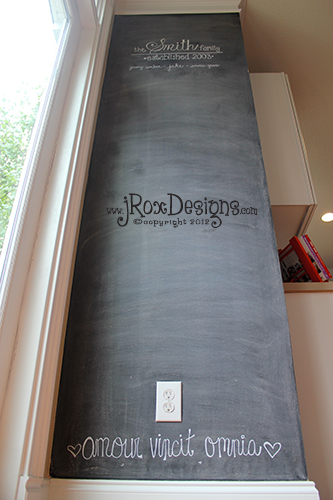
A while back I wrote about how I desperately wanted to incorporate a chalkboard wall into our home. After some what of an epiphany, a couple quick coats of paint and what seemed like having to wait for forever for paint to dry completely…our family now has a fun place to play and draw!
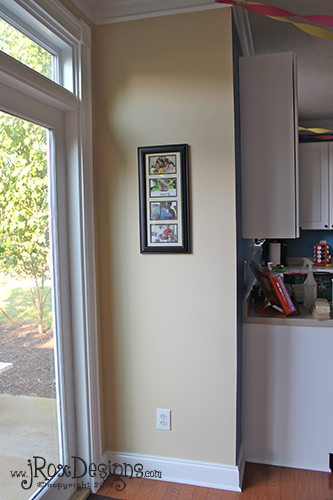
The trickiest part of the chalkboard wall was trying to figure out just the right space in the house for it. Every wall was either too big, too small or was connected to another wall that wouldn’t work either. I just couldn’t figure it out! Then one day it just hit me and I kind of felt like an idiot. We have this one little wall that connects our breakfast nook to our kitchen that would make a perfect accent wall. It is small but it is in a great central location were I was sure it would get a lot of use.
I made a quick trip to Home Depot (one of my favorite places in the world!) and grabbed a can of Rust-Oleum Chalkboard Paint.
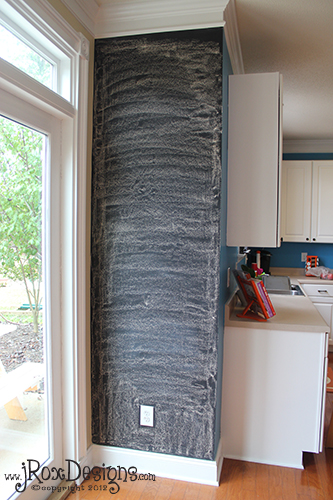
I also grabbed a new smooth foam roller (they are typically labeled for cabinets and furniture). This is important because you do not want a nappy roller. The smoother the better! It took me about three coats to get really good coverage. I’m sure that two coats would have been fine but I could swear to you that I still saw bits of tan paint peaking through so I went for a third coat. Once the paint dried I had to wait three days (per the instructions on the can) before I could do any drawing! The hardest part was waiting! Ugh…I hate waiting. Especially since it took no time at all to paint such a small space. Once the waiting game was over I conditioned the entire wall. This step is important because it will help with keeping your wall looking new and not leaving any phantom “ghost” marks.
While we are on the subject of phantom ghost marks as I like to call them, I learned an interesting lesson about chalkboard markers. I was so excited when I found out about them! I mean how cool is it that you can get thick, clean lines like a marker but in the form of chalk? Well I guess it was too good to be true in my case. Beware that if you use chalk markers you can only use them on a surface with a sheen to it. The chalkboard paint that I used was flat and will not work with chalkboard markers. Lesson learned. While awaiting the arrival of Nana we made a “Countdown To Nana” on our wall in chalkboard markers.
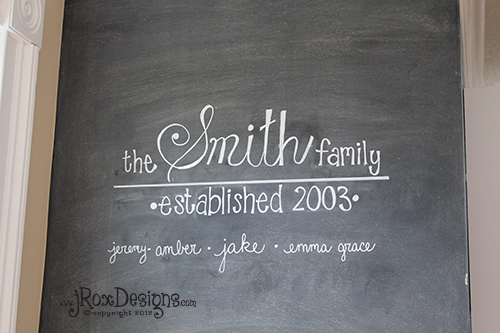
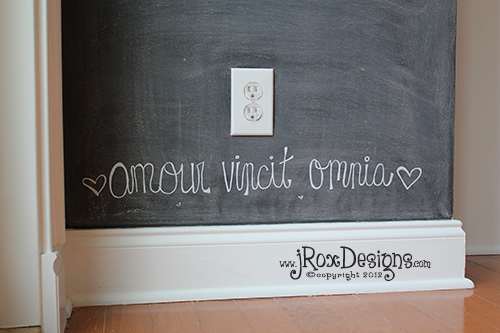
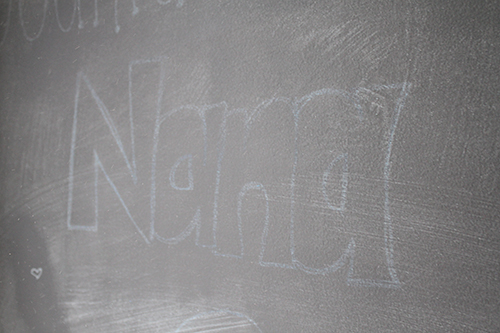 Although we do love Nana lots and lots it looks like she will now be with us for a while. The only way to get rid of the ghost marks is to put a fresh coat of paint over top! Ugh. Lesson learned right? Well I ended up using the chalkboard markers anyways to draw a couple of fun things that I want to keep on the wall permanently. At this point what can it hurt right?
Amour Vincit Omnia means Love Conquers All in Latin. It’s a little bit like a family motto around our house!
So there you have it. A little bit of chalkboard wall fun! Since we I finished it the wall has become a place for impromptu games of tic-tac-toe, a place to take newborn photos (don’t worry you will get a sneak peek soon!), a place to jot phone messages and most importantly a spot to write secret messages to each other!
Have you make a chalkboard accent wall in your home? Share it with us! I’d love to see it!
Related articles
- Bringing Chalkboards Out of the Classroom and Into The Home :: Inspiration Wednesday (jroxdesigns.wordpress.com)




What a great way to put an “unused” wall to work.
Love it! P.S. the “ghost marks” come right off with a light swipe of a Magic Eraser 🙂
NO WAY!! Ashley you are the best and that is why I absolutely love you and Lil Blue Boo! I’m going to try it this afternoon. I’m so glad you stopped by!
That is the perfect spot! I love it!
Thanks! We are loving it!
I love your little chalkboard nook!
Thanks Kelly! That little space is getting a ton of use! Last week my son had to take quite a few medications to take to get over an illness. I made a big chart on the chalkboard wall so he could keep up with the doses all by himself. He had such a great time crossing everything off and now we are back to a big game of tic-tac-toe!
Pingback: A Thankful Week and Celebrating Our 100th Post with a Top 10 Recap!! | jRoxDesigns
Pingback: I’m Part of the Craftaholics Anonymous® 2013 Creative Team!! | jRoxDesigns
What did you do to “condition” the wall?
Hey Megan! Conditioning is a really important part of taking care of your chalkboard wall and its actually super easy. All you have to do is rub the side of a piece of chalk across the entire writing surface and then erase/wipe it off with a soft cloth. This will leave a coat of chalk dust behind that will prove a surface to write on that will help provide the best erasability for future use!
Pingback: 15 Quick Budget-Friendly Decorating Tips |
Pingback: Throw Back Thursday-Chalkboard Wall Edition | Patty's Pinterest Addiction
This was exactly what I was looking for! Found you thru Pinterest; thanks for the informative post!