When designing Emma Grace’s nursery one of the things I knew for certain was I wanted a one of kind piece in her room. Although I do love crisp modern design I also have a place in my heart for soft lines. As soon as we found out we were having a girl I knew I wanted to give her a modern style girly nursery but I wanted it to be soft and welcoming. Although Jeremy doubted me at first because I had narrowed down my dresser choices to two…

the MALM 6 Drawer Dresser from IKEA with a some sort of graphic overlay on the drawers
OR

a French Provencal style dresser. Yeah I know not my style at all but when I saw several of these pieces painted in fun colors

I was sold! So I decided on pink and white. Yes bold but with the rest of the furniture in the room being white and a soft grey backdrop on the walls I knew it was doable. So I searched Craigslist for weeks to find a dresser that would work. Then I found it! For less than $60 I was the proud new owner of a fantastic dresser. (Okay a side note we did drive almost 2 hours both ways for it in our truck so if you figure in gas it was a bit more! 🙂 )
 The first thing we did was take all the hardware off and lightly sanded down the entire dresser. I then taped off the drawers and took them outside to prime.

One of the things that I love about painting furniture is our paint gun. A couple years back we invested in a paint gun and it was SO worth the money. With it Jeremy (not pregnant me!) was able to spray down the dresser and all the drawers relatively quickly and with a perfectly smooth finish.
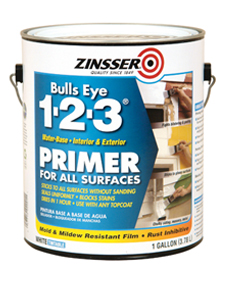
I used Zinsser’s Bulls Eye 1-2-3 water based primer and it works like a dream! I love RustOleum products and I’ve tried many different primers and this one is by far my favorite. It dries quick, has great adhesion, a very low odor and it levels out really well! So after Jeremy finished priming everything I gave it all one more sand down with a fine steel wool. This gave us a super smooth finish to work with. We then painted over all the pieces with the same paint I used to paint her closet which was Behr Premium Plus Ultra Paint and Primer in One.

The color is called “Invitation to a Princess” by Disney for Behr. It is the perfect shade of pink and matched her bedding perfectly! After we got two smooth layers down it was time to start painting the trim. Originally I tried to tape off the edges but it didn’t take long to realize that it wasn’t going to work. So…a little itty bitty brush and I had a date for the next couple WEEKS…for HOURS and HOURS on end! By the time I finished the first coat I thought I was going to die but I persevered and it was worth every last paint stroke! I sealed the entire dresser and the front and sides of each of the drawers in Minwax’s Gloss Polycrylic.
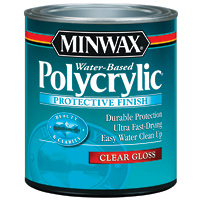
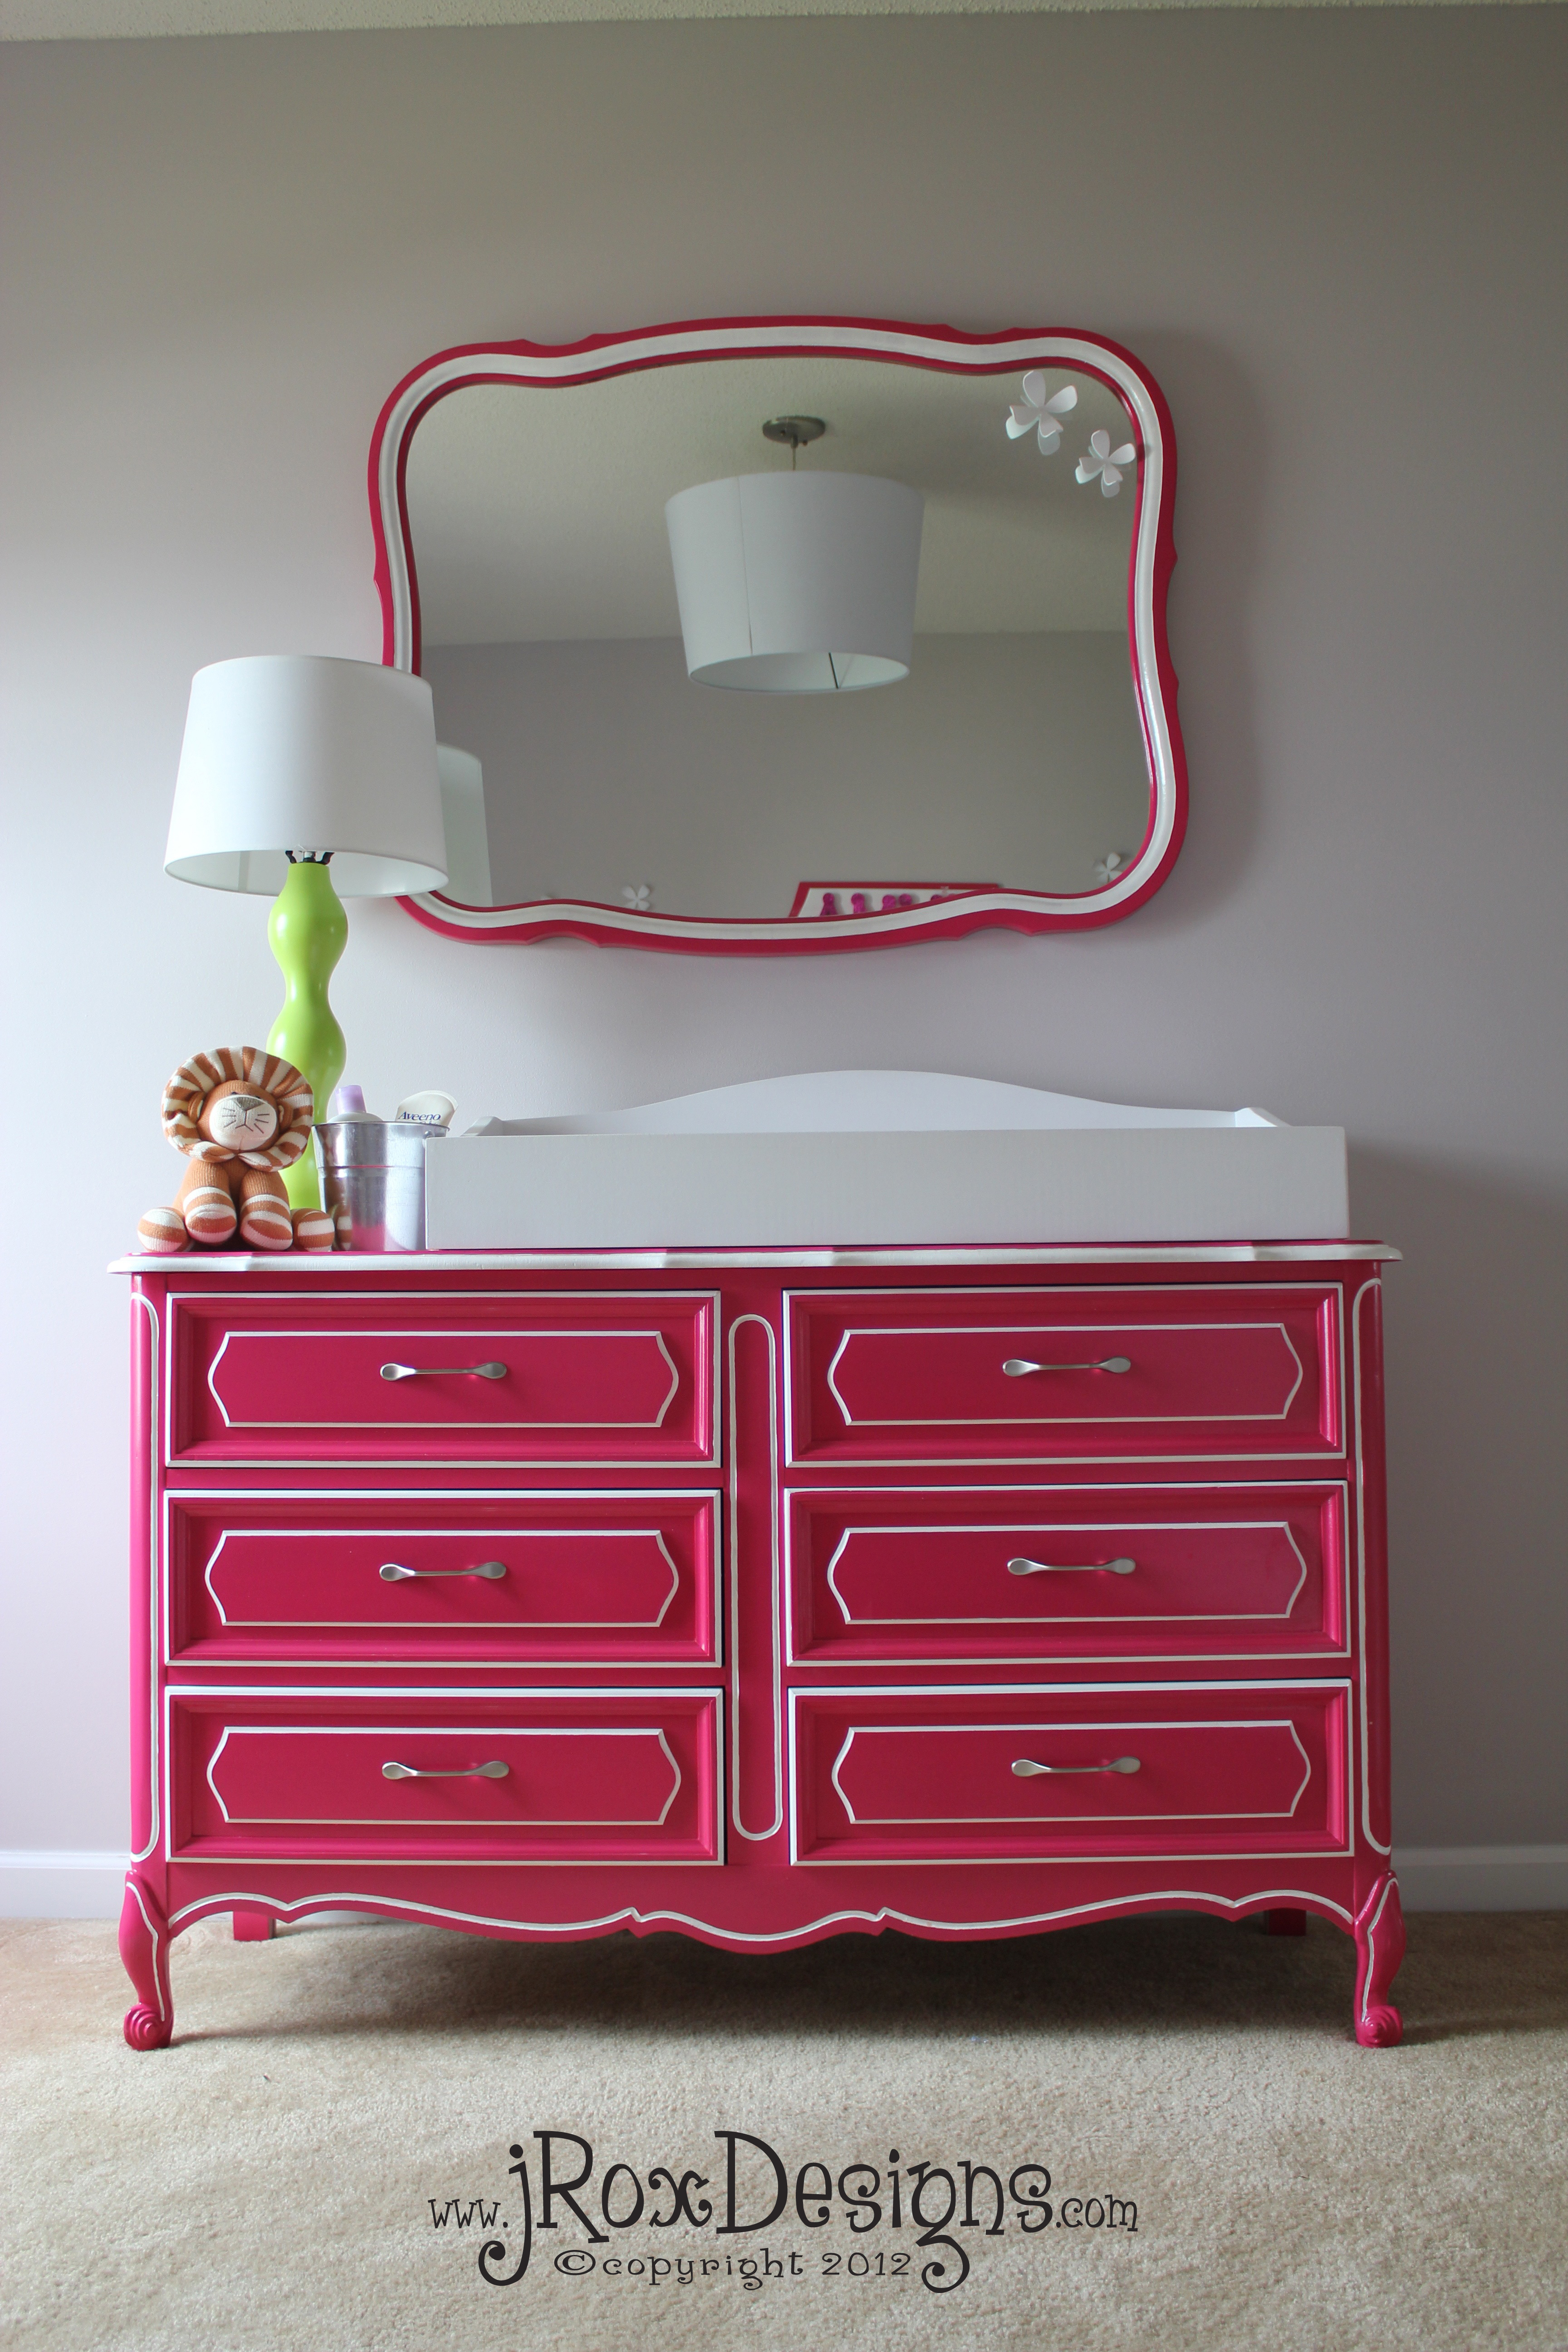
Now let me tell you this stuff is awesome! We go through this stuff by the gallons at our house with our cornhole boards. It goes on super smooth and dries nice and hard. It takes a couple of days to completely harden so right before we left to go tot the hospital we put the drawers in the dresser but didn’t close them all the way and by the time we got home with little missy they were perfect. So I’ve made you wait long enough…I present to you…the pride and joy of my DIY nursery…

Did I mention we got a matching mirror with the package too? Eeekk!!


My favorite part of the make over (other than ALL of those beautiful white details of course) was the silver sleek handles that I added to replace the original over the top handles!

So I’m going to leave you with most amazing photo ever…again…ahh I LOVE it!

Have you guys ever taken on a HUGE furniture project like this before that turned out amazing? Or maybe it didn’t turn out just like you planned? Tell me all about it!

P.S. The custom painted furniture doesn’t end here! Oh no! Jeremy made me the most amazing side table to go with it. Stay tuned for next week!
Psst…Check me out over at East Coast Creative as a share this awesome project as a chance to be part of Creating with the Stars!


Who was your photographer? Looks like a professional took those pics. 😉 And the color … I _knew_ that kid was a princess.
All photos are by yours truly! 🙂 That room is so hard to photograph but I was very excited that they all came out so well!
Great job! I love the color!
I featured your dresser on my blog today! It is fabulous 😉
I LOVE this! Great color choice. Just found your blog! Newest follower. Can’t wait to see more. : )
Smiles!
Sammy ~ Renew Redo
Pingback: Custom Modern Nursery Side Table :: Nursery Tuesday | jRoxDesigns
I have a dresser exactly like this and would love to know if you painted it all pink then went back with your tiny paintbrush and did the white over it?
Hey Kim!
I sure did! I first primed the entire dresser, sanded it and then painted it pink with a spray gun. Once it was dry I went back and did a couple coats with my tiny paintbrush on all of the trim. Once it was done I sealed the entire dresser with polycrylic to make sure to keep the dresser looking brand new. Let me know if you have any other questions and I would be happy to answer them for you. If you paint yours too make sure to come back and share it. I would love to see it!
– Amber
Pingback: Perfect Accessories and Updating Furniture with Paint:: Nursery Tuesday | jRoxDesigns
Pingback: Emma Grace’s Nursery Reveal :: Nursery Tuesday | jRoxDesigns
i would love to feature your dresser, it turned out beautiful
Hey there! I’m so sorry for my late response it looks like your comment got caught up in my spam filter. I would be honored if you would like to feature my dresser. Your portfolio is amazing! Thanks for stopping by!
– Amber
Pingback: A Thankful Week and Celebrating Our 100th Post with a Top 10 Recap!! | jRoxDesigns
Pingback: I’m Part of the Craftaholics Anonymous® 2013 Creative Team!! | jRoxDesigns
I just bought this same exact dresser. The top is a laminate, is yours? If so, did the top come out OK?!
Hey Michelle! Mine was definitely not solid wood either and it turned out perfect. The biggest part you need to focus on is prepping the piece first by sanding and priming it. Think of the primer as your best friend – without it your paint job will not last very long. When you are finished painting don’t forget your clear protectant coat! It is just as equally important. Without the clear coat there is still a very good chance that your paint can chip (when you are painting a laminate) even with the highest quality paint! Take your time and allow plenty of dry time in-between each coat of primer, paint and top clear coat. Also make sure you completely wait for the polycrylic to cure (check the directions) before you put anything on top of the dresser. Let me know if you have any questions and I would be happy to help! Make sure to come back when you are all done because I would love to see pictures!!!
You did a BEAUTIFUL job on this!!! Good luck with CWTS!
Thanks so much Holly! I had so much fun making it and I’m crossing my fingers for CWTS. Thanks for the vote!
Really nice colour choice for this shape! Perfect for a little girl of any age!
This is gorgeous!! You did an amazing job with the paint, and the piece itself is stunning. Stopping by from the East Coast Creative Contest…good luck 🙂
Thanks so much Erin! Good luck with your entry too! I love the crates!
Pingback: Happy 1st Blog Anniversary to jRoxDesigns! | jRoxDesigns
random question… is your change pad just on top of it? it looks like its in sort of a box.. what is it? i like it.
The changing pad actually is in a box! I used to work at a baby boutique and we sold tons of these cute little changing table toppers from a company that went out of business many years ago. Essentially it was so that you could turn any dresser into a changing table for the first couple years when you needed it to function as a changing table but then when your little one was potty trained you could simply take it off and you still have a beautiful dresser to use for many years to come! We custom made our changing table tray out of a solid wood to give it a good weight then sprayed it with a high quality paint. Then we put little those little furniture felt pads on each corner of the tray to protect the dresser underneath. They are awesome to have but are kind of hard to find sold by themselves. Many high end furniture companies sell them as a set with their dressers that are marketed toward their children’s lines. If you can find one it is definitely an awesome piece for any nursery!
Hi! This looks beautiful. I’m doing a similar project and I wanted to know how you were able to get the white trim so even?
Thanks so much! Oh the trim was extremely tricky! I started off using a painters tape thinking that I would be able to mask off each of the pieces but that didn’t work so well. In the end I actually ended up using a very small straight edge, craft size paint brush and took my time and did it all by hand. It took forever but in the end it was completely worth it. I wish I had an easier tip for you but in this case slow and steady is what worked the best for me! Good luck and I’d love to see your project when you are all done!
Pingback: Planning A Pink Dresser (a.k.a. Picking The Perfect Pink) | The Home Avengers
Pingback: Let’s go PINK!
Hello! You did an excellent job! I have a mirror that look just like yours and I was thinking of hanging it on the wall too, but it’s very heavy. Is yours heavy too? If yes, how did you do it without it falling from the wall? Thank you
Hey Dayse! Thanks so much! Yes my mirror is crazy heavy as well. It came with a wire hanger that went from one side of the mirror to the other. We ended up using the wire since it was pretty heavy duty but we did make sure that we hung the mirror straight onto a stud. It still will wabble a little bit back and forth if you hit it, but for the most part it is heavy enough that it stays put! Good luck!
You did an amazing job I love the color you chose. did you paint the insides of the drawers I seen that idea on another blog looked amazing and fresh.
Hey Marsheila! I actually found a roll of adorable gray chevron drawer liner that I used for the drawers and I LOVE how it turned out. They have held up great and always give me a little smile every time I open them. You can see more about the drawer project here!
Pingback: CWTS Updates, Link Up, and some Favs! - East Coast Creative Blog